Detailed Disassembly and Reassembly of the Romanian Tokarev TTC Pistol
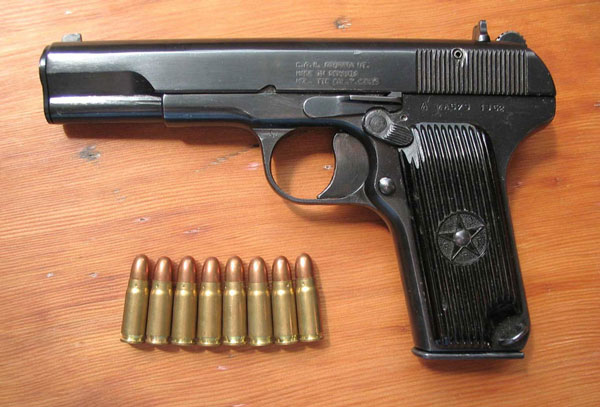
The Romanian TTC is a copy of the famous (and rare in the USA) Russian Tokarev TT-33. The Tokarev, chambered for the powerful 7.62x25 cartridge, replaced the strange and unusual Nagant revolver in 1931, and was itself replaced by the elegant little Makarov pistol in 1951.
The TTC, or Tula Tokarev Cugir, was produced by the Cugir Arms Factory in Transylvania, and was used by the Romanian military from the early 1950s until the late 1990s. It has been abundant on the surplus market in the U.S. (though the ammo is a bit dodgy these days) and it offers the American collector some small consolation for the fact that his wonderful government won't let him buy a real Tokarev from the Russians.
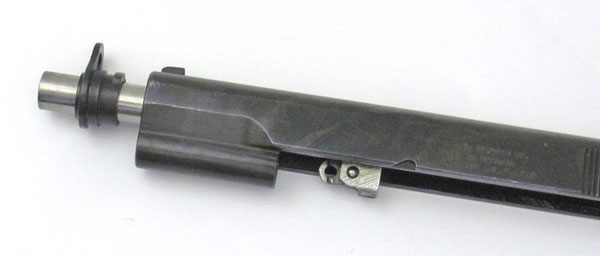
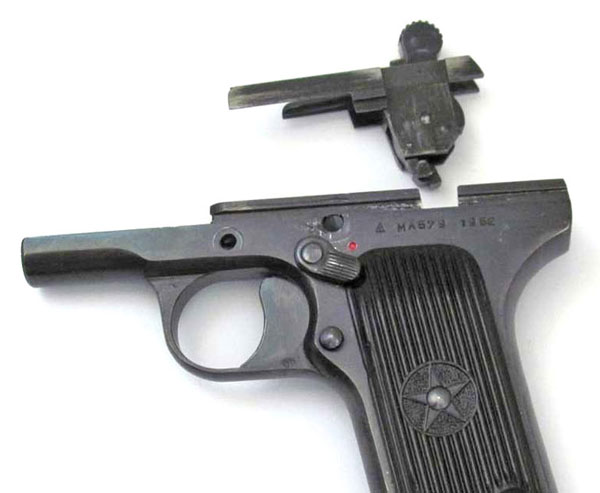
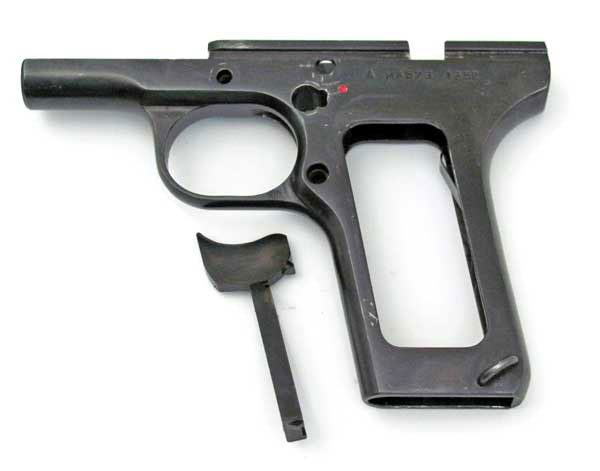
The Tokarev uses the John Browing 1911-style barrel link and breech lock arrangement with a barrel bushing and slide lock. The trigger is also similar, but the trigger and bow are machined from one piece and the trigger bow acts directly on the sear rather than via the disconnector as in the 1911. Other features, including the magazine release, the firing pin, the extractor, and the hammer mechanism are different from the 1911.
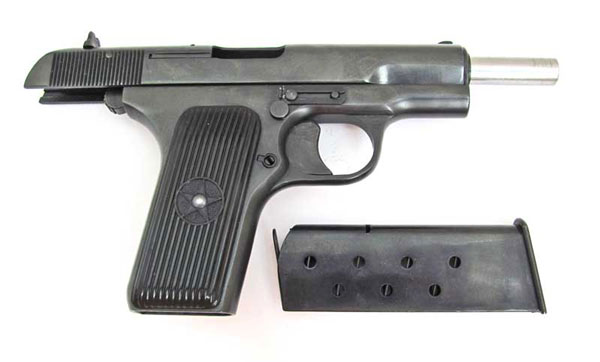
Disassembly is easy enough. The magazine is straightforward, so we won't deal with it here, and we won't remove the rear sight (E), the barrel link (FF), or the trigger spring retaining pin (T).
In the following discussion, left, right, top, bottom, forward, rear, etc. are from the pistol's point of view.