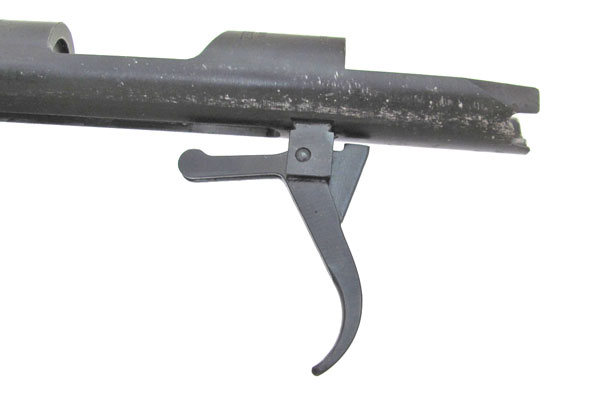
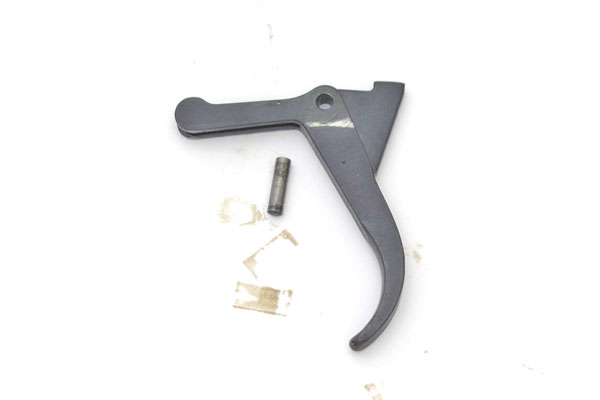
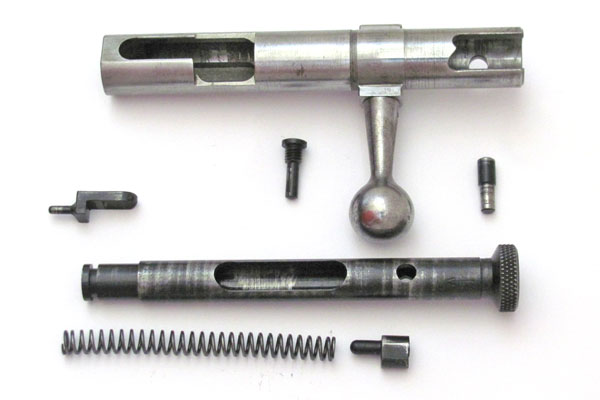
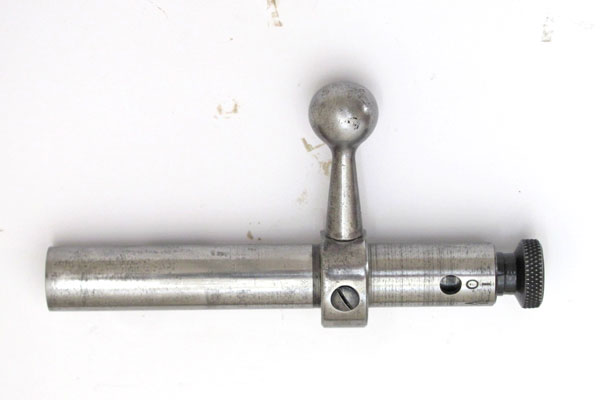
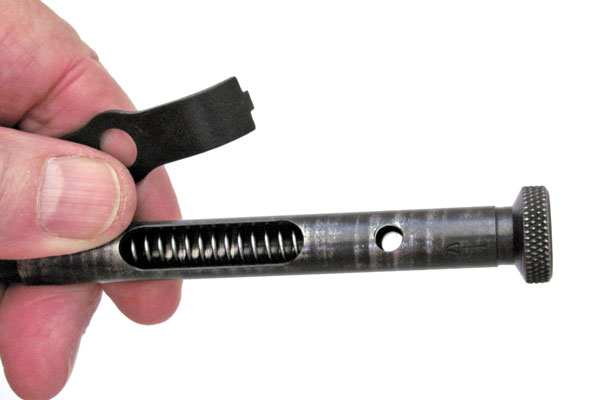
Detailed Disassembly and Reassembly of the Brno ZKM 468 Rifle

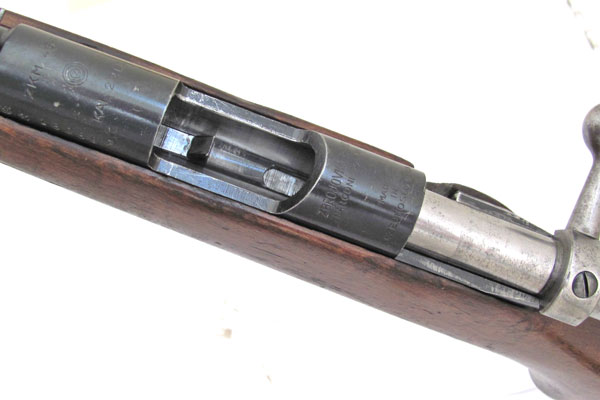
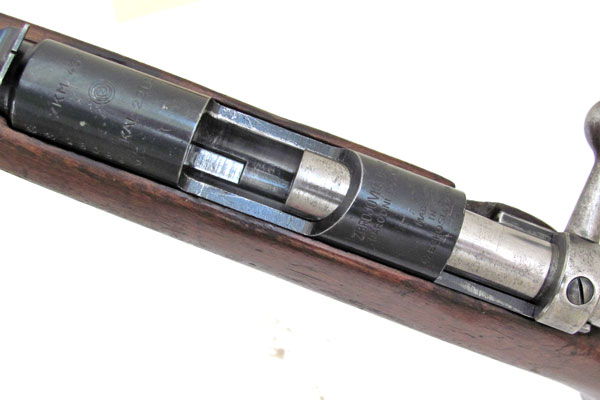
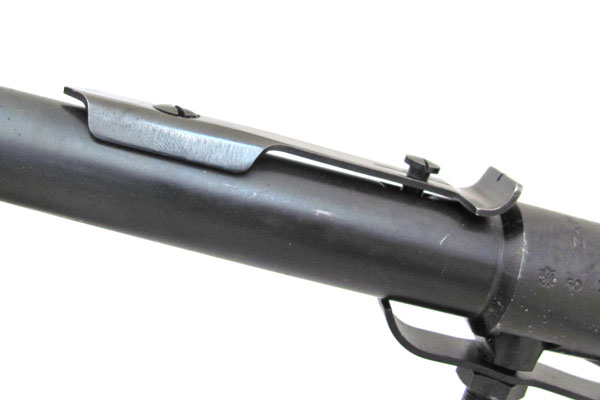
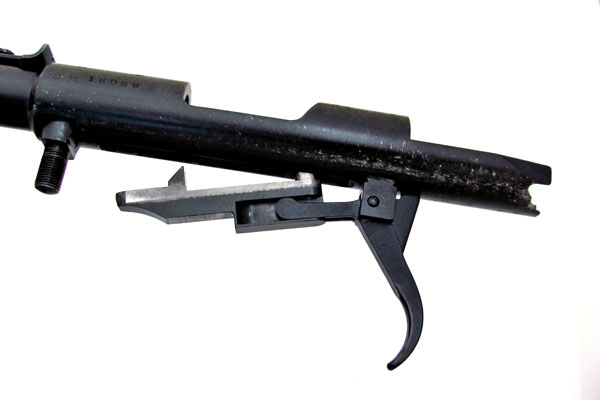
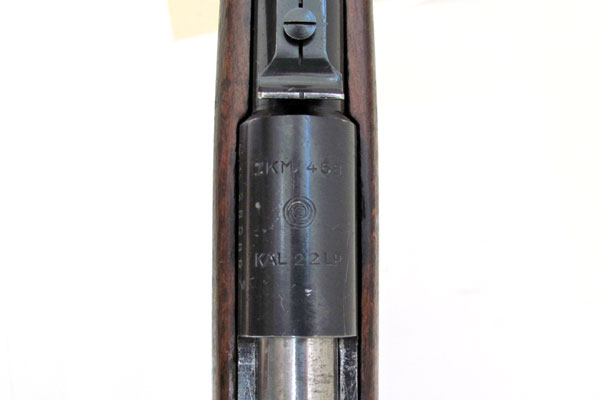
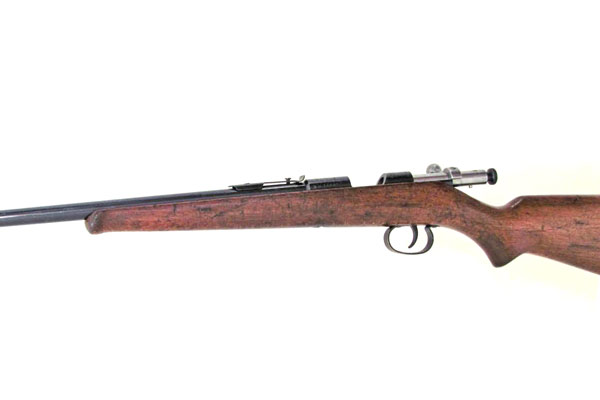
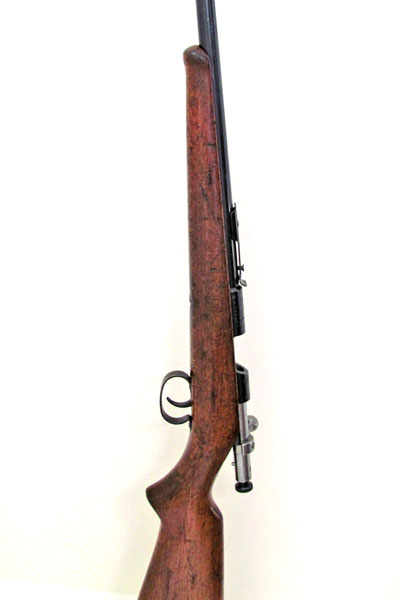
This ZKM 468 .22 caliber rifle in a well-worn walnut stock was made in Czechoslovakia in 1950. It weighs 4.4 pounds, has a 20-1/2 inch barrel, and is 37-1/4 inches long. Interestingly, it has a 14 inch length of pull, which suggests it was intended as a small gun for adults.

It has been called a military trainer, which it probably isn't because it doesn't resemble or operate like any military rifle, and a garden gun, which it may well be, as it's light, compact, and effective against four-footed garden pests. It has the high-quality fit and finish characteristic of Czeck manufacture.


Clear the chamber by opening the bolt.

The bolt will not come out with the extractor/sear to the rear as seen here.


Slide the bolt all the way forward to move the extractor/sear to the forward position and then hold the trigger back while you draw the bolt back and all the way out.


A single large fastener holds the barreled action in the stock. Remove it with a large screwdriver and separate the action from the stock.


There's a washer in the stock under the fastener, but with luck it's tight enough that it won't fall out of the stock.


What looked like a large screw is actually a threaded, slotted cap nut.


We won't remove the trigger guard.


With the action out, we see the threaded bolt that holds the action to the stock dovetailed into the receiver. It also holds the sear spring under a hex nut. There seems to be no positive indication of how tight that nut should be. If it's turned tight the trigger is needlessly heavy, so I've left it a bit loose without problem.


The front sight is dovetailed into the barrel and is where we adjust windage.


The rear sight appears to be held on with a screw, but it isn't what it appears—it doesn't screw into the barrel but is actually dovetailed into the barrel, and the dovetailed end freely turns. To remove the sight, turn the screw clockwise, because it's threaded in the sight, not the barrel.

The smaller rear screw adjusts elevation.


This rifle is sighted in at 50 yards and we won't mess that up by removing the rear sight.


We remove the hex nut and the sear spring comes off.

With the sear spring off, the extractor, which is also the sear, can be removed.


The extractor/sear has two surfaces that can be stoned to get a smoother bolt action, on the bottom where it slides against the sear spring...


and on the top where it slides against the receiver.


The trigger is held by a pin that just falls out. Mind that it doesn't fall out and get lost.


The trigger is out.


Now we come to the tricky part. This bolt is famous for being hard to disassemble, but it isn't hard—just tricky.

We'll start by naming some of the parts so we understand each other as we go along. Here we show what we will call the bolt, the firing pin, the screw pin, the safety pin, the striker with the knurled cocking piece at its rear, the mainspring, and the mainspring guide.

The mainspring and mainspring guide are inside the striker—the mainspring can pass through the cocking piece, but the mainspring guide must go in and out through the oval cutout.

The firing pin is attached to the striker by means of a tab and slot, and the striker assembly is inside the bolt. The safety pin goes through the hole near the rear end of the striker and the screw pin goes through the bolt and into the striker at the back of the oval cutout, just behind the mainspring guide, between the mainspring guide and the back end of the oval cutout. The screw pin is one of the parts that makes the bolt tricky.

The rear face of the mainspring guide has a notch that bears against the screw pin and makes the safety "click" one way or the other, and also makes the bolt "click" as it's turned.


But our bolt is still assembled.

One's first instinct is to remove the screw pin, there at the root of the bolt handle, but that isn't the best approach. Start by pulling out and rotating the cocking piece until the fat or top end of the safety pin is visible through the hole toward the rear. The safety pin is then easily pushed out through this hole from its thin or bottom end, if it doesn't just fall out. With the safety pin out some of the pressure on the screw pin is relieved, and, we can apply a special tool to ease removal of the screw pin.


The screw pin is under lateral pressure from the mainspring via the mainspring guide, and it will come out, even with the pressure of the spring against it, but it's more civilized to relieve the spring pressure until the screw pin can come out without any lateral pressure. For this we use the special tool shown here. It's just a hardwood dowel with a notch filed in the end. Stick it into the cocking piece until you can feel the notch go around the screw pin.


Press on the dowel tool just enough to relieve the spring pressure on the screw pin and turn the screw pin out. Now the striker assembly freely rotates inside the bolt.


The front end of the striker and the firing pin are visible toward the front end of the bolt.


Rotate the striker about 180 degrees to disengage it from the firing pin and the striker comes out.


The firing pin also falls out. Now we can easily see how the one engages with the other and it will be easy to put them together later.


The striker is much more fun to disassemble. We see it contains the mainspring, and if it hasn't been lost, the mainspring guide at the rear end of the mainspring. We also see the notch in the rear face of the mainspring guide that engages with and turns against the pin part of the screw pin.


If we push the blunt end of the dowel into the cocking piece and press against the spring guide, the spring and guide unexpectedly fly out. The guide bounces off the ceiling, walls, and floor, and comes to rest in an unknown location. (Wear eye protection.)

Alternatively, one can wear eye protection and hold his hand over the cutout in the side of the striker while dislodging the spring guide in the same manner with the dowel, thus catching the spring and guide before they can fly away.

Or, one could press the rear end of the mainspring forward with some tool, and let the mainspring guide fall out. Always wearing eye protection, because this spring is just full of energy that wants to get out.


Reassembly is the reverse of disassembly. We have a couple of tricks to make the tricky parts easier.


Trick one.

To get the mainspring guide in you have to push the rear end of the mainspring forward. The sear spring can be used for this purpose, but the blade of a screwdriver works better—stick it between the coils of the mainspring near the rear end and compress the mainspring forward enough to fit the mainspring guide in. Mind that it isn't allowed to fly out. Once it's seated against the rear of the cutout it holds itself in place.


Trick two.

With the striker inserted into the bolt and correctly engaged with the firing pin so the flat sear surface shows in the bottom of the bolt, use the notched dowel again to press the mainspring guide forward while you start the screw pin. Look for the notch in the mainspring guide through the hole, and see that the notch in your special tool is lined up. When you press the mainspring guide forward a tiny bit, the screw pin goes right in.

Without relieving that pressure, the screw pin wants to go in crooked and get crossthreaded. Or it might not want to go in at all. Some people have filed a point or a bevel on the screw pin to make it go in easier, but that's just nuts.


The last step in assembing the bolt is to put in the safety pin. Pull and rotate the cocking piece until the hole through which the safety pin goes is fully open, and drop in the pin, small end first.


Now, with your beautiful little rifle all clean, oiled, and assembled, congratulate yourself on acquiring an excellent piece of craftsmanship and mastering its assembly.


Other Curio & Relic Firearms


© 2026 Porter Rockwell

Valid HTML 4.0 Transitional     Valid CSS